Can you believe these are the same shoes?
We bought them at Gap in August 2014.
Carolina needed some shoes to wear in the beauty pageant, and these were the perfect shade of pink.
She loved them. As you can see she nearly loved them to death.
When the recent beauty pageant rolled around and Carolina needed new shoes I was faced with the daunting question, "Do I take these 5 children out shoe shopping for a new pair of dress shoes for Carolina? Or do I figure out how to make her current dress shoes work?"
It didn't take a split second to know that I had no interest in taking my boys shoe shopping for a girl unless absolutely necessary. There would be too much whining, running, and overall mayhem if I take them to a series of stores. I thought I remembered seeing someone refurbish some old shoes during a season of Project Run and Play some time ago. I quickly started the task of scrolling through each and every post on their blog page, in an effort to find what I was looking for.
I did not find it. But I did find this awesome shoe project.
I like the author a lot. She has a blog over at www.cathgrace.com .
I have pinned more than one thing she did on Project Run and Play.
I followed this tutorial with some slight changes.
I took pictures along the way so I can share the experience with anyone that would like to try it.
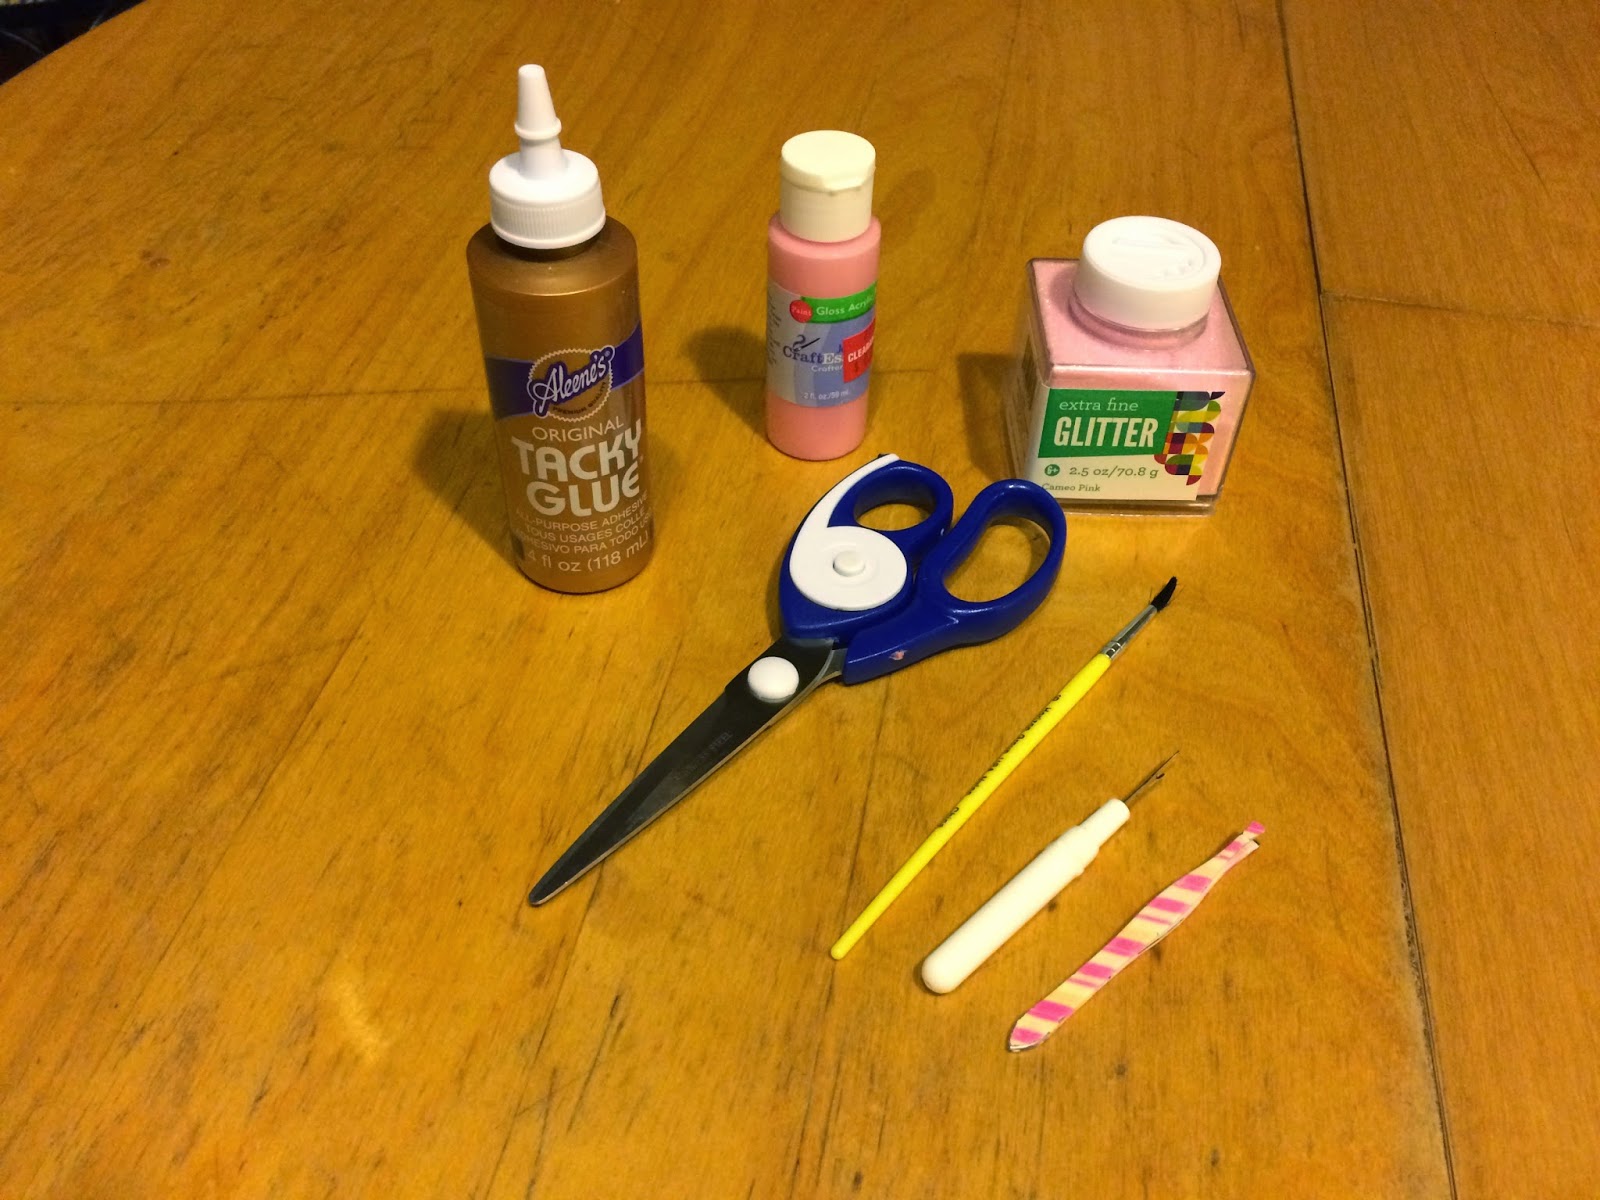
Some things you'll need are tacky glue, craft paint, fine glitter, scissors, paint brush, seam ripper, and tweezers. Not pictured: fleece or felt, needle and 8lb test fishing line, or jewelry making nylon thread, two sizes of beads, embroidery hoop and scrap of cotton fabric to use as stabilizer.
These shoes were so cute when we bought them.
That's why she wore them every chance she got.
First, remove the pink turned brown ribbon and flower.
The first thing I did was take my closest matching craft paint and paint the shoes.
I wanted to just cover the scuffs, but the shade was darker, so I had to go ahead and cover the whole shoe. I was worried this could cause problems with chipping and coming off, but that hasn't been the case.
I took the tacky glue and mixed it with water. 50/50
This made it thinner and more manageable.
Then I painted the dried, painted shoes with it and covered them in the glitter.
I did 3 coats of glitter.
For the heart shaped beadwork I followed the tutorial by Catherine from www.cathgrace.com very closely with slight differences. She used felt under the beads and I used fleece. Because that's just what I had on hand.
Always upcycling where I can I was able to use the small clear beads from this necklace.
My friend Erica gave this to me 5 or 6 years ago when she cleaned out her jewelry box. She gave me several things that the kids would play dress up with. But this one had been abandoned in my room for quite some time now. It was time to give it a new purpose. The other beads used are ones I purchased from my craft supply store. Light pink glass beads.
OK, so what you see here is I'm sewing the beads to the heart shaped fleece.
Using the nylon thread, or fishing line, bring your needle up through the fabric, up through a larger bead, up through the smaller bead, over the side of the smaller bead, back down through the larger bead and finally back down into the fabric.
Repeat until you can't get another bead sewn onto the heart. (Or whatever shape you are using)
Now cut them out and glue them onto the front of your glittered shoe.
Use the tacky glue (not mixed with water) to do this. I used large paper clips and clothes pins to press them while the glue dried.
That's it!
Now try keeping her out of them.


0 comments:
Post a Comment